Cook Book Stand
An easily storable cookbook stand, it was a christmas present for my partner.
Design
I wanted something that would easily slide in with our chopping boards on the kitchen counter as we do not have much surface space in the kitchen, and also having a solid rest so that any size of thing can sit on it. This made me look at ways of integrating the kickstand to the book rest, and after a perusal around Slöjd-Detaljer, I found the perfect style hinges to go bring the piece together. It has angles of height viewing.


Creation
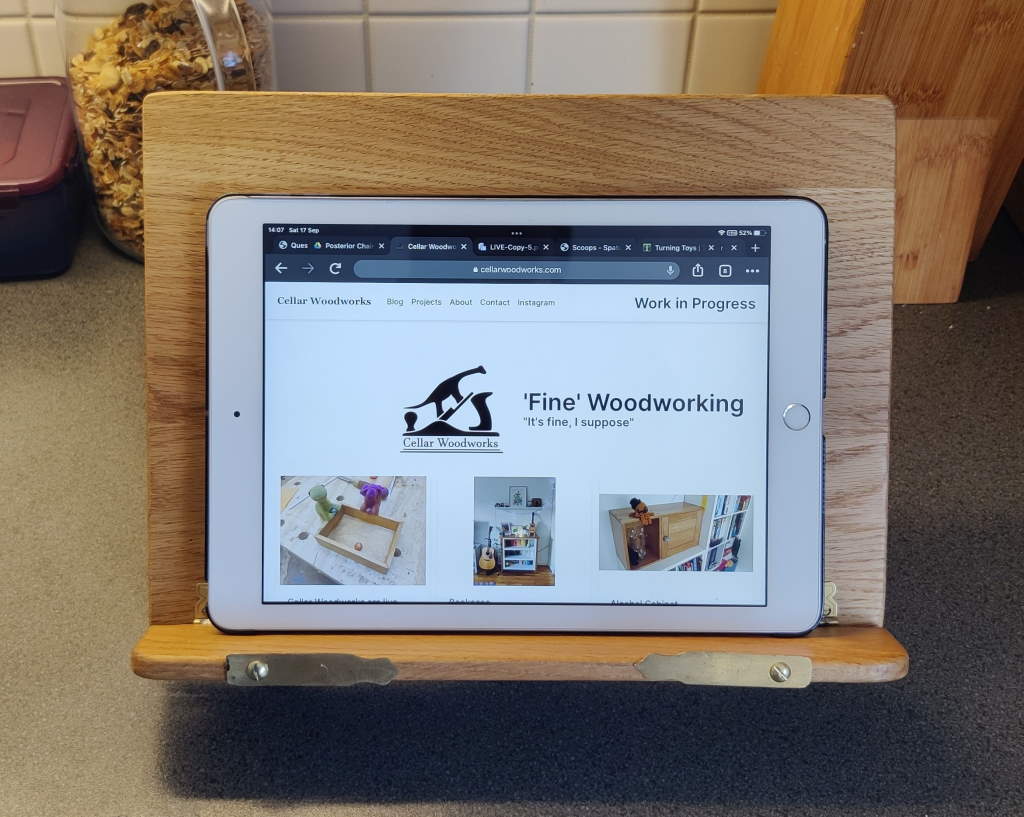
This is four main wood pieces and then some hardware to attach them all. They were cut out of 3 oak boards jointed together and planed down to the required thickness.

A template for the holes were created using some hardboard and then the bulk cut out with a jigsaw and finished with a flush bit on the router. The kickstand was made from one of the larger cut outs that roughly matched the grain and then carefully cut down to fit the hole.

The steps for the kickstand to sit in were chiselled out and then the page holders, was a brass piano hinge shaped using a dremel and it was attached via a carefully cut down brass rivet that was epoxied into a drilled hole.
Before working with the final piece, I made a very quick pine and masking tape version as proof of concept to verify the mechanisms worked, and work out what the useful angles would be

Lessons Learnt
My skill with hand tools has improved a lot now, and I think the kick stand resting mechanism would be carved out better, I'd also spend some time finding some proper hinges, as the ones I was using were brass coated, and designed to be used with nails rather than screws, so there was a lot of modification and re-brassing the hinges. I did toy with putting an inlay into the rest, but I prefered the clean look
Materials
| Wood | Oak |
| Finish | Danish Oil |